

For every angler, a well-maintained lure is a silent partner in the pursuit of the perfect catch. Just like a trusty fishing rod or a reliable reel, lures require proper care to maintain their effectiveness and maximize their lifespan. Corrosion, grime, and even minor damage can significantly hinder a lure’s performance, transforming a once-vibrant fish magnet into a lackluster dud.
This comprehensive guide delves into the world of lure care, providing you with the knowledge and techniques to keep your lures in pristine condition. By following these best practices for cleaning, maintaining, and storing your lures, you’ll ensure they remain ready to entice even the wariest fish, trip after trip.
The Immediate Post-Catch Ritual: Banishing Brine and Debris
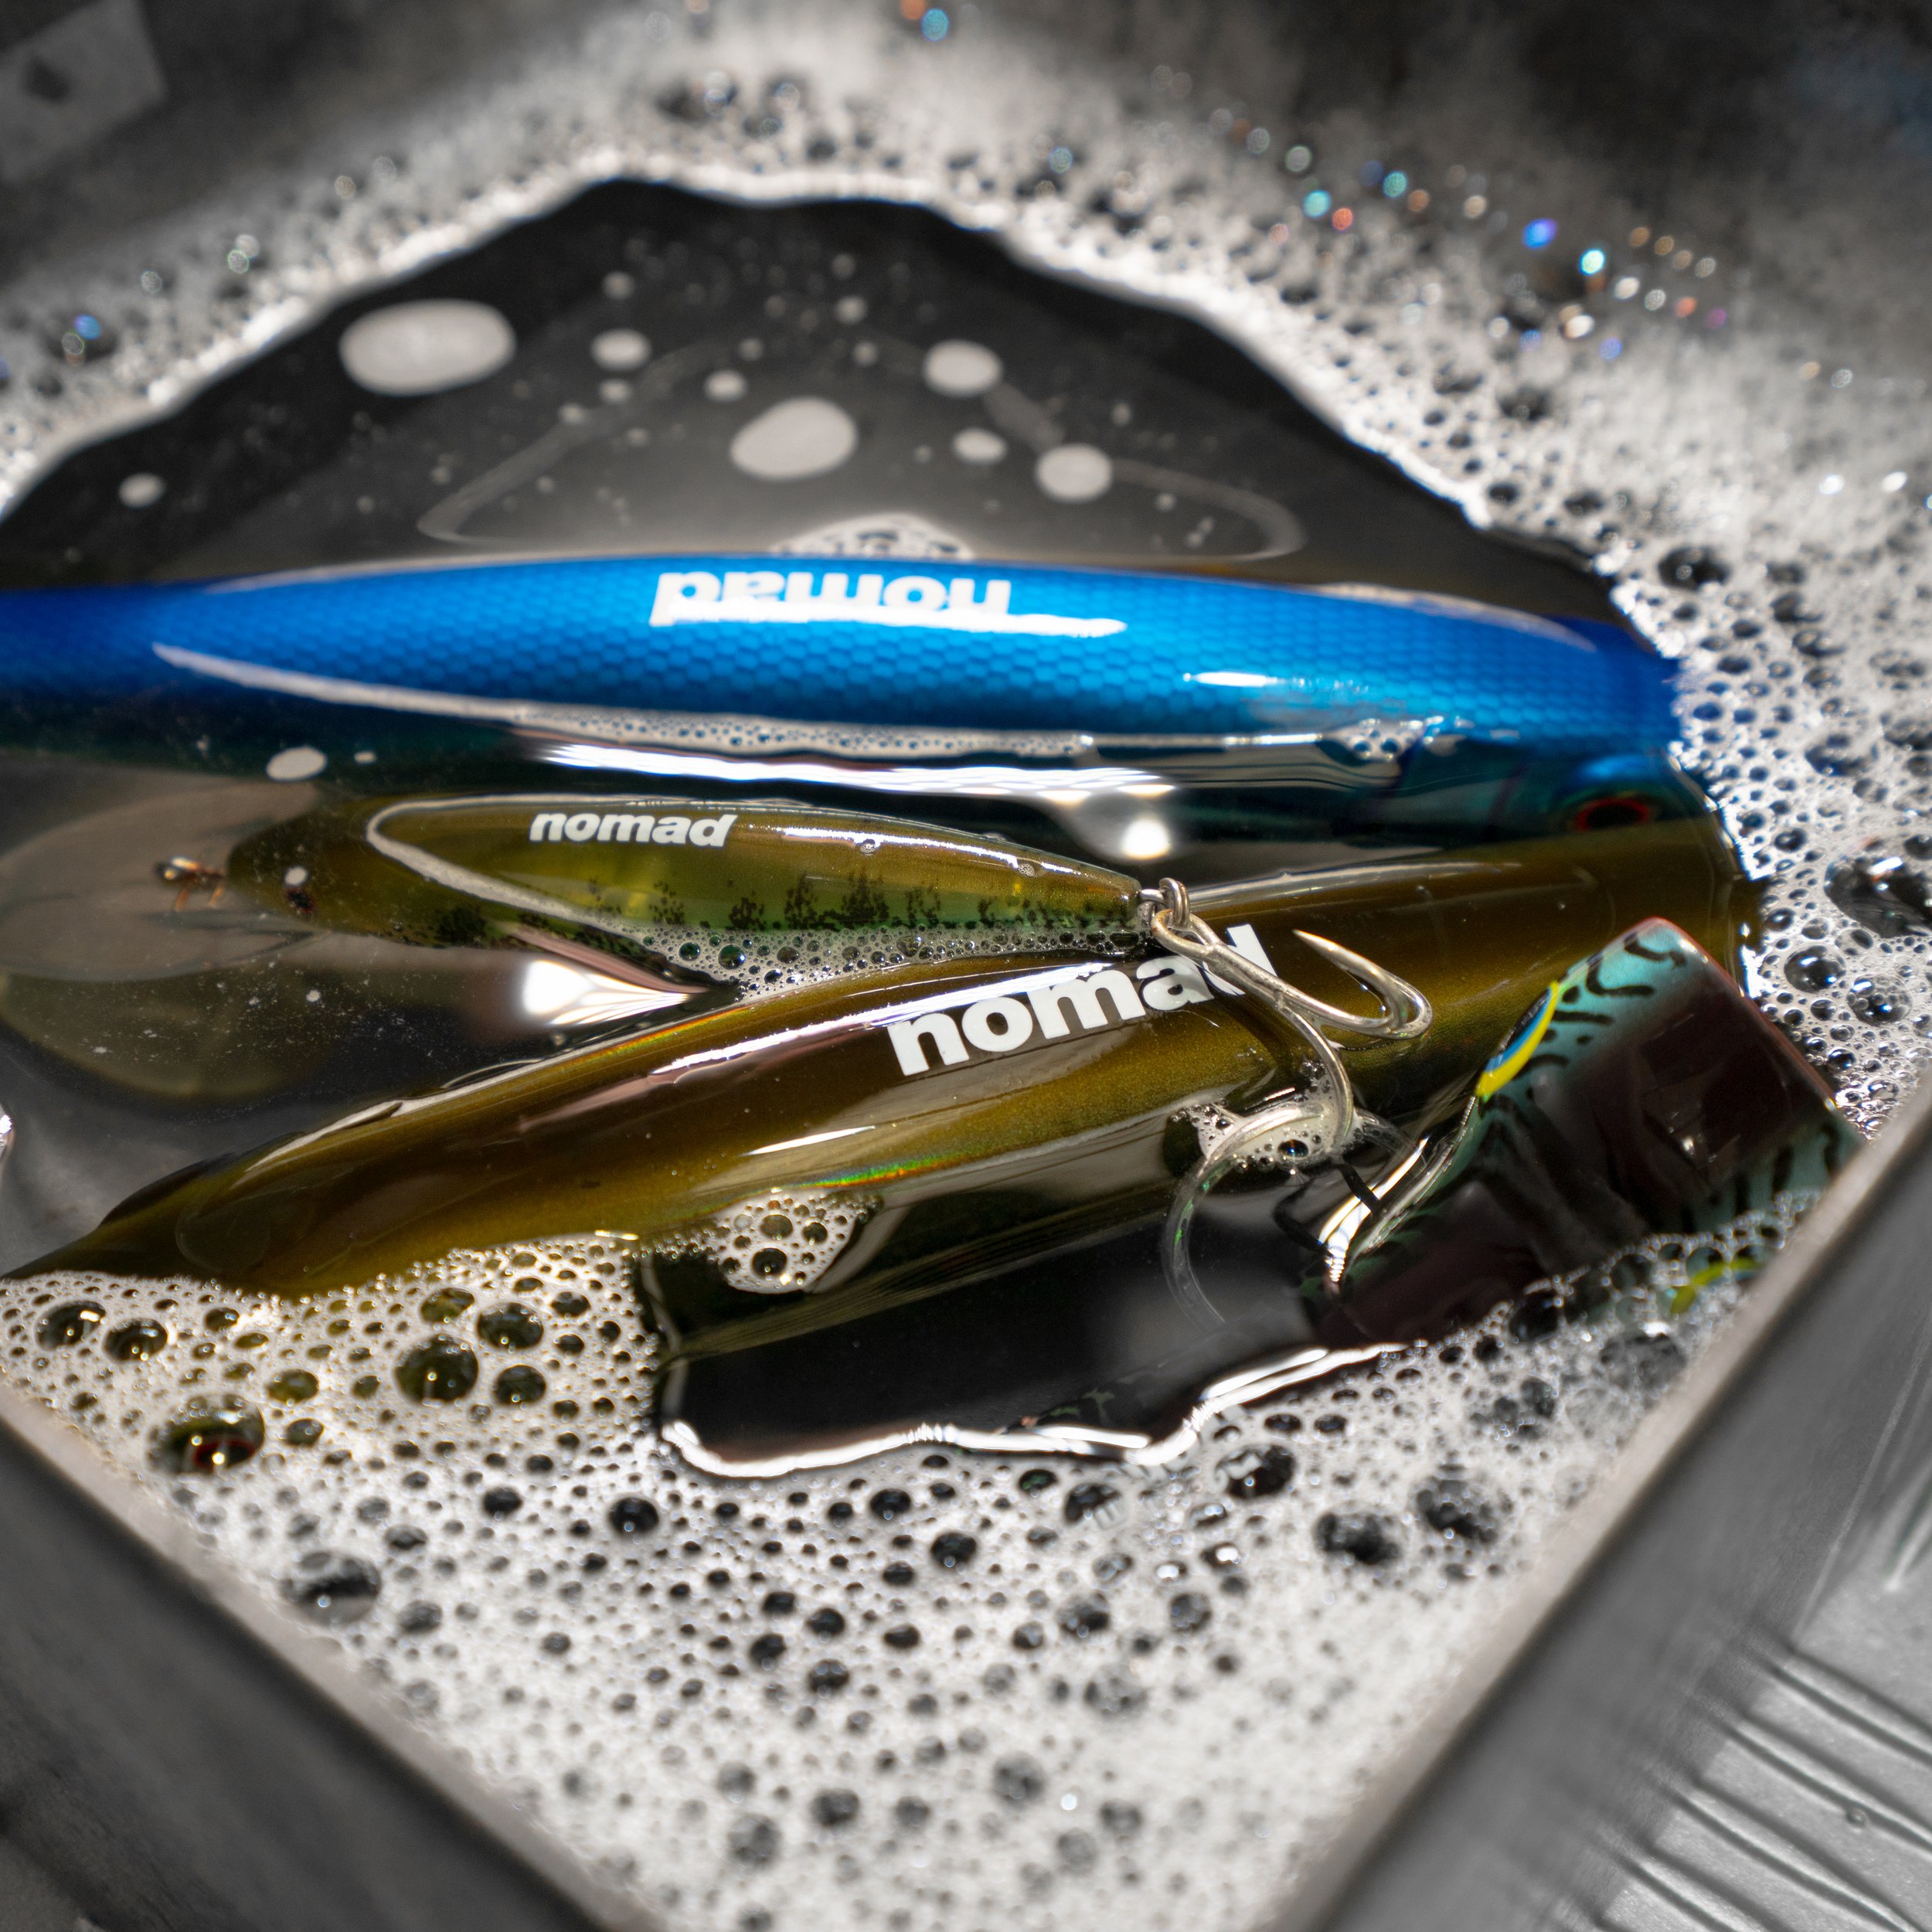
Rinse with Fresh Water: The moment you’re done reeling in your catch and your heart rate returns to normal, prioritize giving your lures a freshwater bath. This is especially crucial if you’ve been battling saltwater adversaries. Saltwater’s corrosive nature can wreak havoc on metal components and dull the lure’s finish if left unchecked. Use a gentle stream of clean water to thoroughly rinse away any salt residue, dirt, or debris clinging to the lure’s body, hooks, and any moving parts.
Removing Debris and Residue: After the initial rinse, take a closer look at your lures. Are there any unwelcome hitchhikers like mud, sand, or bits of vegetation clinging to the surface? Use a soft brush with gentle bristles or a clean, damp cloth to carefully remove these unwanted guests. Pay particular attention to crevices, hinges, and areas where debris tends to accumulate. Avoid using abrasive materials like scouring pads or steel wool, as these can scratch or damage the lure’s delicate finish.
The Deep Clean: A Refreshing Soak and Scrutinizing Scrub
Soaking the Lures: For a more thorough cleaning, consider giving your lures a refreshing soak. Prepare a solution of lukewarm water with a mild dish soap or a diluted vinegar-water mix (1 part vinegar to 3 parts water). Submerge your lures in this solution for 15-30 minutes. This soaking process not only loosens surface dirt and grime but also penetrates into those hard-to-reach nooks and crannies, ensuring a more comprehensive clean.
Scrubbing and Detailing: After their invigorating soak, it’s time for a detailed scrub. Employ a soft brush, ideally an old toothbrush with gentle bristles, to meticulously clean all areas of the lure. Focus on those crucial spots around the hooks, joints, and any moving components – these areas are prime targets for dirt and grime build-up. Remember, a gentle touch is key to avoid damaging the paint or finish. For particularly stubborn grime, you can apply a small amount of the cleaning solution directly onto the brush before scrubbing.
Drying and Inspecting: Ensuring a Rust-Free Future
Drying Techniques: Once your lures are sparkling clean, proper drying is essential to prevent rust and corrosion. Pat the lures dry with a clean, absorbent towel, removing any excess moisture. The next step is crucial – allow the lures to air dry completely before storing them away. Avoid exposing them to direct sunlight or high heat sources, as this can potentially degrade the materials used in the lures. Ensure all parts of the lure are completely dry, especially any joints or areas where water can become trapped.
Inspect for Damage: With your lures completely dry, it’s time for a thorough inspection. Scrutinize them for any signs of wear and tear, such as rust spots, cracks in the body, or bent hooks. Early detection is key – by addressing minor issues promptly, you can prevent them from escalating into major problems that could render your lures inoperable. Use tools like pliers or small files for minor adjustments or repairs as needed.
Taking Preventive Measures: Shielding Your Lures from Corrosion’s Grip
Anti-Corrosion Sprays: An extra layer of protection for your lures can be achieved with the use of an anti-corrosion spray. Products like WD-40 or specialized fishing gear sprays can be helpful in this regard. Apply a light coat of the spray to the lure’s surface, ensuring even coverage. Wipe off any excess spray to avoid a sticky residue. Regular application of such sprays, particularly before and after fishing trips, can significantly enhance the longevity of your lures.
Proper Storage: Just like proper cleaning, storing your lures correctly is vital for their long-term well-being. Choose a cool, dry place for your tackle box to prevent the development of rust and corrosion. Compartmentalized tackle boxes are ideal for keeping your lures separated, preventing them from getting tangled or scratching each other during transport. For added protection against moisture, consider placing silica gel packs within your tackle box. These handy moisture absorbers help to regulate humidity levels and further reduce the risk of rust.
Maintenance Tips: Building a Routine for Optimal Lure Performance
Regular Maintenance Routine: Establish a consistent cleaning and maintenance routine for your fishing lures. The frequency of cleaning will depend on how often you fish and the types of environments you frequent. However, incorporating a basic cleaning ritual after each fishing trip is a wise practice. This ensures that any salt residue, grime, or debris is removed before it has a chance to cause damage. Set aside some time after each trip to clean and inspect your lures – this proactive approach will pay dividends in the long run.
Emergency Cleaning Kits: For those unexpected fishing adventures or situations where you encounter particularly harsh conditions, consider assembling a portable cleaning kit. This kit can be a small pouch containing essentials like a freshwater spray bottle, a selection of soft brushes in different sizes, microfiber cloths, and a small bottle of anti-corrosion spray. Having these items readily available allows you to perform quick maintenance on the go, ensuring your lures remain in top condition even when you’re far from home base.
Beyond the Basics: Specialized Techniques for Different Lure Types
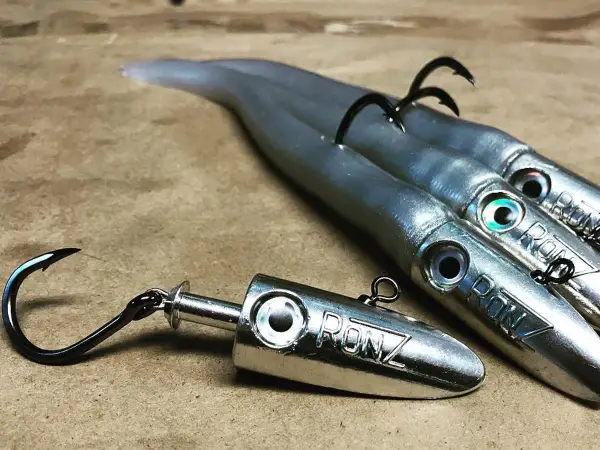
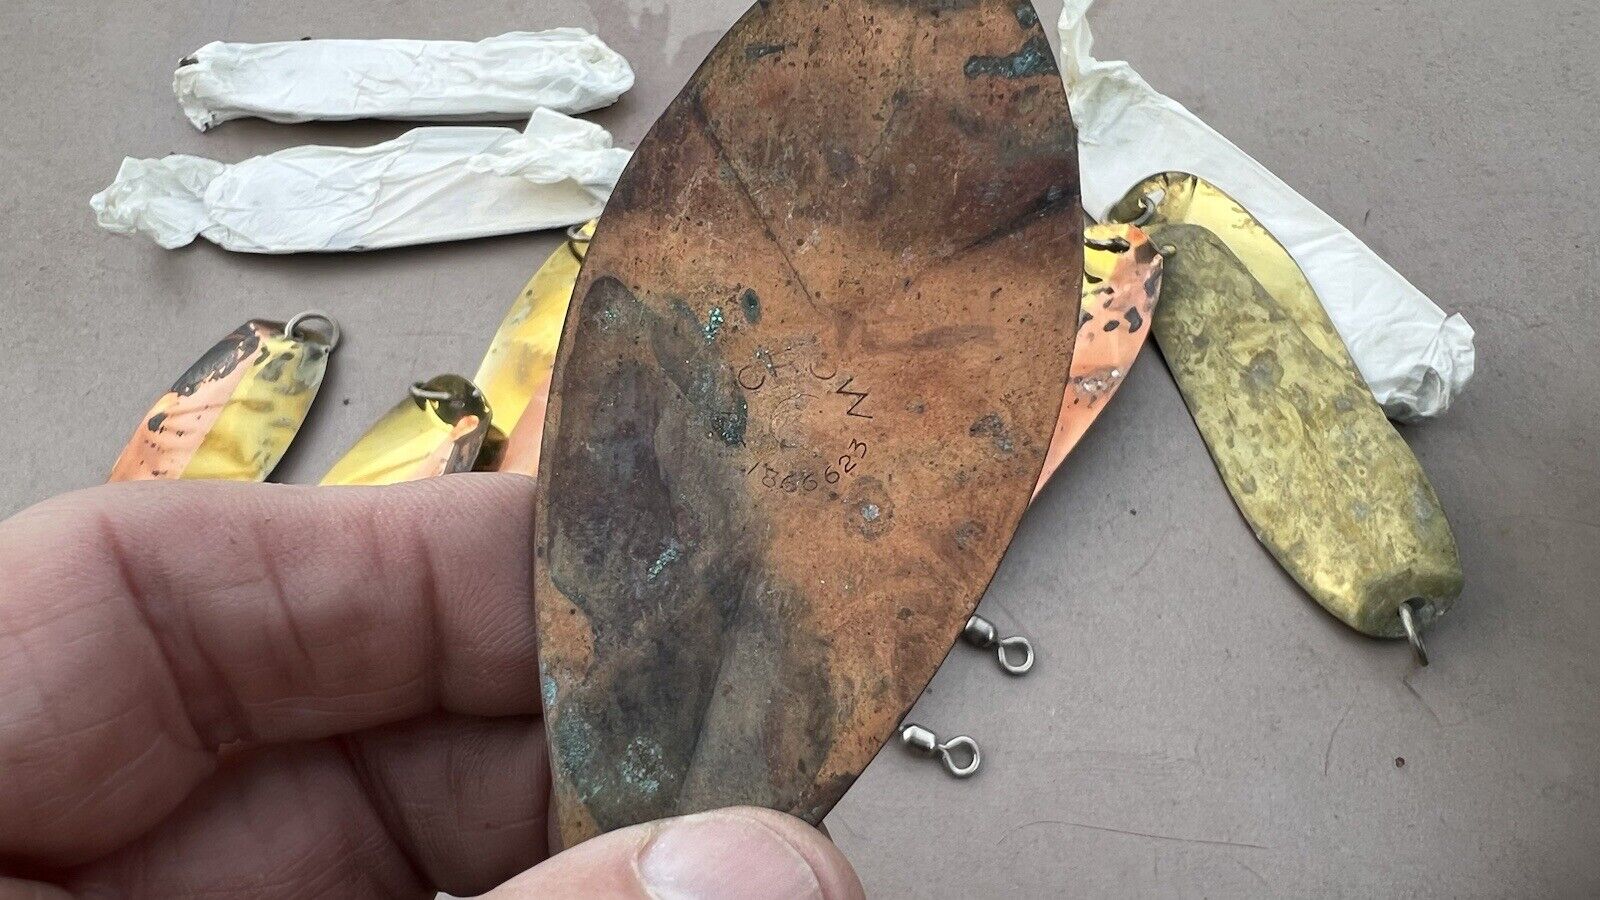
Metal Lures: For metal lures like spoons and jigs, the cleaning process is similar to the general steps outlined above. However, you might encounter stubborn barnacles or zebra mussels clinging to the surface, especially if you fish in saltwater environments. A pair of needle-nose pliers can be helpful for carefully removing these unwelcome hitchhikers. Be very cautious while using pliers to avoid damaging the lure’s finish. Once removed, proceed with the regular cleaning and drying process.
Soft Plastic Lures: Soft plastic lures like worms, grubs, and creature baits require slightly different care. Avoid using harsh soaps or solvents, as these can damage the soft plastic material. Instead, opt for a gentle rinse with clean water or a mild dish soap solution. For stubborn stains, a baking soda paste can be used to create a mild abrasive cleaning agent. Once clean, air dry the lures completely before storing them. Be mindful that soft plastic lures have a natural lifespan and may become brittle or lose their effectiveness over time. Regularly inspect them for signs of wear and tear, and replace them when necessary.
Wooden Lures: Wooden lures require a touch of TLC to maintain their beauty and functionality. After cleaning with a damp cloth and mild soap solution, allow them to air dry completely. Once dry, you can apply a thin coat of a wood sealant or furniture polish to protect the finish and enhance the lure’s appearance. Avoid using harsh chemicals or abrasive cleaners on wooden lures, as these can damage the wood.
Robert Smith is the proud owner of Bait Barrels and Bows, a premier fishing sports store established in 1989. With over three decades of experience in the industry, Robert has honed his skills to become an expert angler, sharing his vast knowledge and passion for fishing with enthusiasts around the world. Through his store and writings, Robert provides invaluable tips and guidance, helping both novice and seasoned anglers improve their techniques and enjoy the sport to its fullest. His commitment to the fishing community is evident in his dedication to quality products and excellent customer service.